Creating GUIs with the TaurusGUI framework
The easiest way to create a new GUI using Taurus is by invoking:
taurus newgui
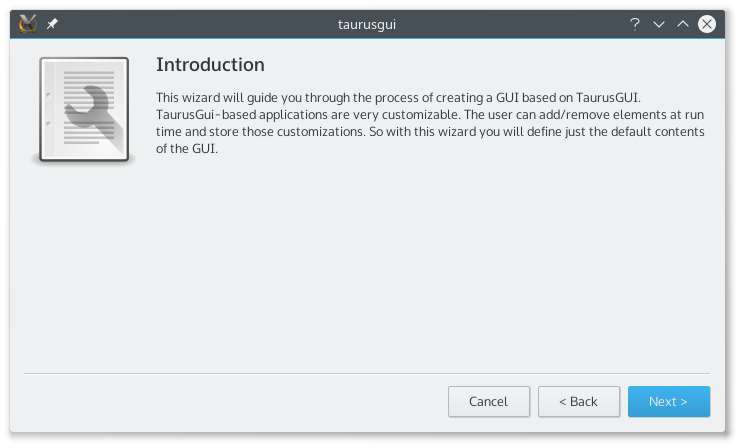
This shows a “wizard” application that will guide you through
the process of creating a TaurusGui-based GUI in a few minutes
without having to program a single line of code.

The taurus GUI thus created can be populated with panels containing any Qt widget (typically from Taurus, but it may also be from any other arbitrary module).
The GUI can also be modified and extended at execution time as explained in this section of the user guide.
The Taurus widgets can be associated with models when they are added to the GUI and, in many cases, they may also accept drag & drop of the model name(s) from other widgets (or from a model selector) at any time, e.g.: the user can start plotting the time evolution of a given value by just dragging its name from a TaurusForm and “dropping” it into a TaurusTrend widget.
Advanced control over the GUI
While the procedure described above is enough in many cases, sometimes more control over the GUI contents, appearance and behaviour is required. This more advanced control can be exerted at several levels:
First, it is possible to edit the configuration files that define a TaurusGUI-based application. These are declarative python and XML files (editable as plain text) complemented by Qt settings files (editable with the provided taurus config application).
On a lower level, custom specific widgets (created either programmatically, as in the Examples or via the Qt designer) can be added as panels to a TaurusGUI application.
At the same level, it is also possible to do simple inter-panel communication thanks to a
taurus.qt.qtcore.communication.SharedDataManagerbroker component instantiated by the GUI.Finally, the maximum level of control can be achieved by programmatically accessing the
TaurusGuiclass itself. In this way, all the higher level features described before are still available, while there are no limitations on the customizations that can be done.